Tutorial: Connect LDLIDAR LD14P to Arduino ESP32

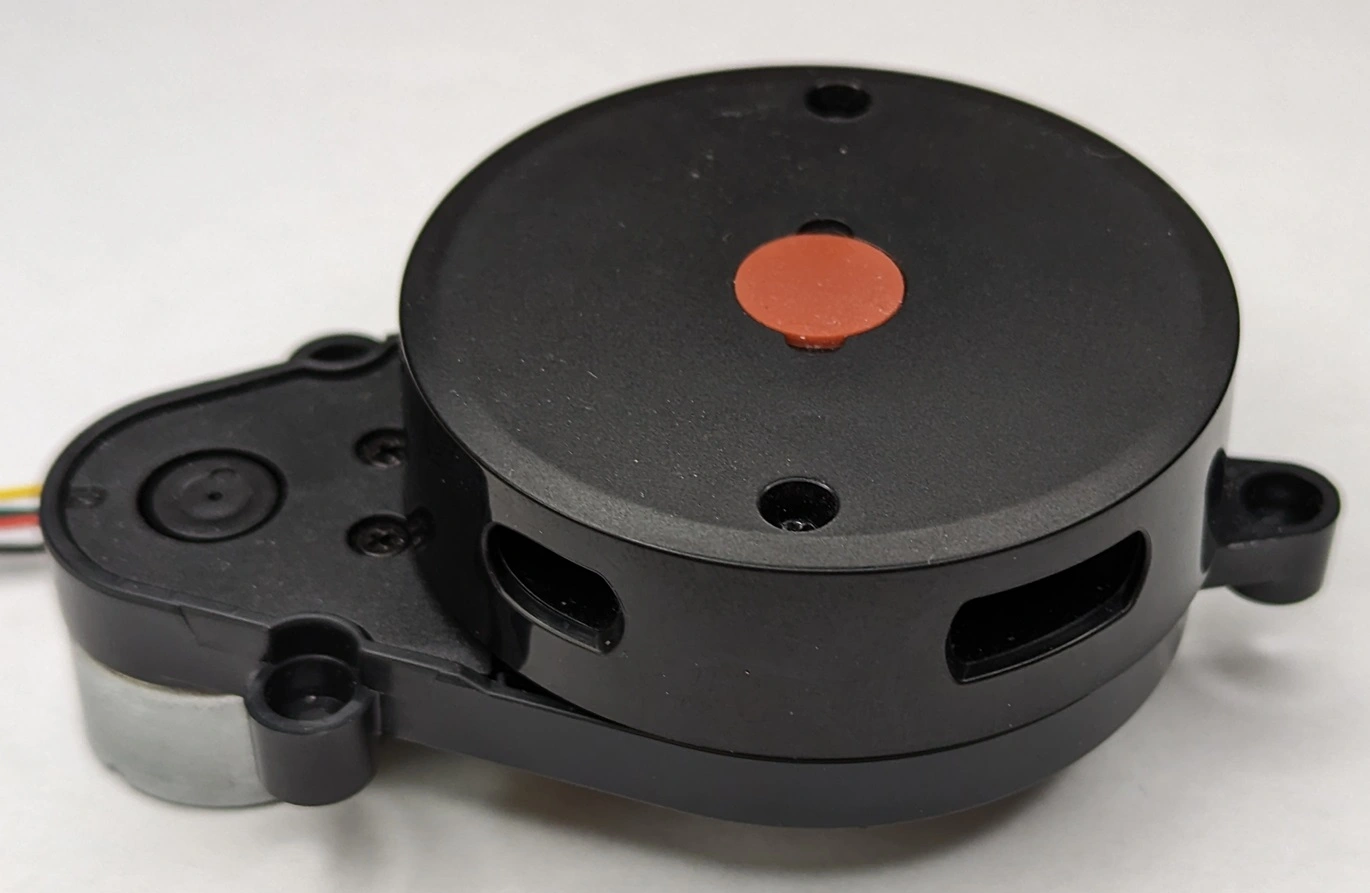
LDROBOT LD14P is a low-cost laser distance sensor. We have not yet evaluated its performance, but eyeballing this sensor’s output under indoor conditions makes us believe this sensor may have a reasonable performance.
LDS Specifications
According to LDROBOT LD14P specifications:
- uses triangulation for distance sensing
- performs 2 to 8 (default 6) 360-degree scans per second
- captures 4K distance points per second
- measured distance from 0.1 to 8 meters
- has a 2,200 hours of listed of service life
- claims 80,000 Lux as ambient light resistance
- we have not checked this independently
- uses a Class 1 793mm laser
- consumes around 1.5W and weights 101g
Overall, these specifications appear to be quite competitive for an LDS that is available for purchase on AliExpress for as low as $35, with free shipping to USA. To give you a point of reference, some other low-cost LDS, priced similarly to LD14P, capture only 1.8K distance points per seconds and may require an additional adapter board in order to be connected to ESP32.
Please note that online sellers also offer LD14P as part of the D200 evaluation kit. That kit includes a USB-to-LD14P serial board adapter, so you can connect LD14P to your Linux or Windows PC (including ROS2) using USB.
Connect LD14P to ESP32
Follow these steps to connect LD14P to ESP32:
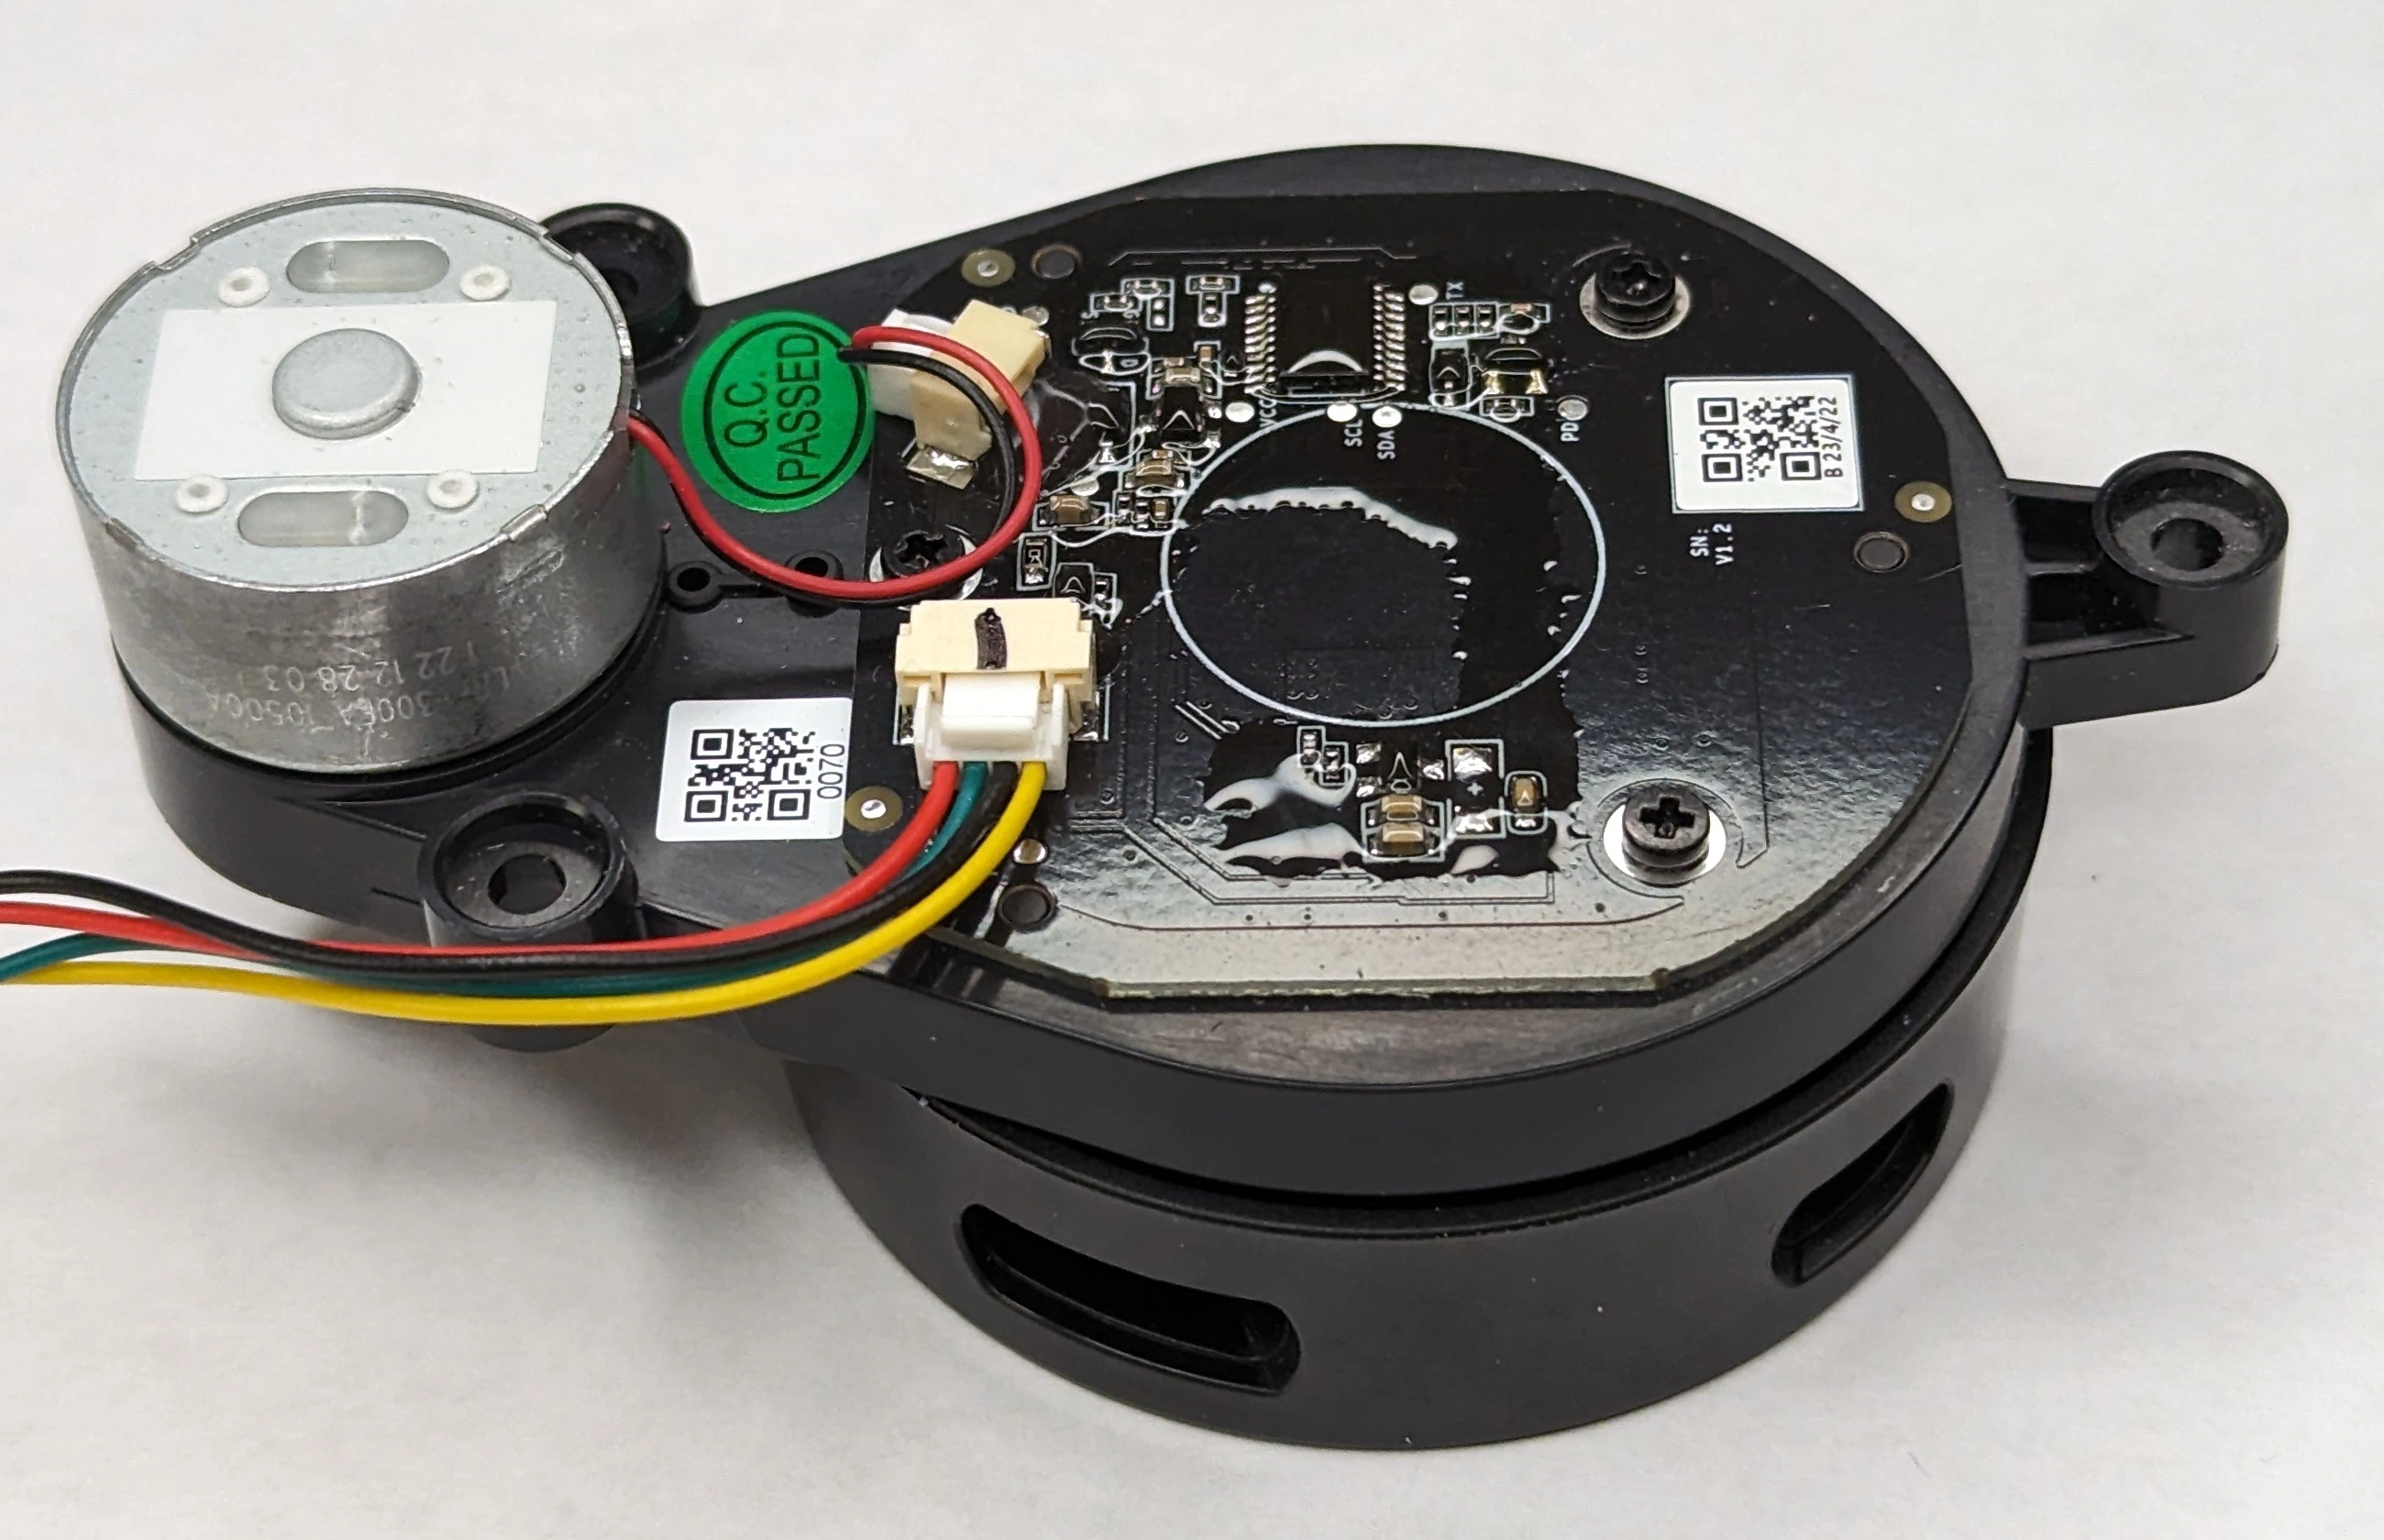
- if the LD14P you purchased comes with a connector cable, consider using that connector cable for the ESP32 connection
- alternatively, order an LD14P-to-ESP32 cable from the makerspet.com online store (when the store opens later in 2024)
- if your LD14P does not have a connector cable, consider obtaining a 4-pin JST GH 1.25mm pitch header connector with wires (AliExpress, Amazon, eBay, etc.)
- alternatively, if you are experienced at soldering by hand, you might try cable soldering wires directly to the LD14P connector pins. That said, don’t do this unless you know what you are doing because soldering can potentially damage your LD14P.
- refering to LD14P connector pinout, connect
- LD14P VCC to 5V
- LD14P GND to GND
- LD14P TX to ESP32 GPIO16 (RX)
- LD14P PWR/RX to ESP32 GPIO17 (TX)

Set up LD14P with Arduino
- install the latest Arduino LDS library
- in Arduino IDE click File -> Examples, scroll to the bottom of the menu and click LDS -> lds_basic_esp32
- click File -> Save and save a copy of this sketch into your sketchbootk
- replace ‘LDS_YDLIDAR_X4’ with LDS_LDLIDAR_LD14P throughout the sketch
- configure Arduino to use ESP32 board that you intend to use
- build the modified sketch
- connect your ESP32 module to your PC using a USB cable
- upload the compiled sketch to your ESP32
- make sure your 5V power supply provides enough current for LD14P
- in Arduino IDE click Tools -> Serial Monitor to open the Arduino IDE
- inspect the sketch output
Video: LDROBOT LD14P connected to Arduino ESP32 and ROS2
Connecting LD14P to ROS2
Please follow instructions in this README to connect Arduino ESP32 with LDLIDAR LD14P to a ROS2 PC over WiFi using micro-ROS.
 Get an early launch invite from us, subscribe to our newsletter